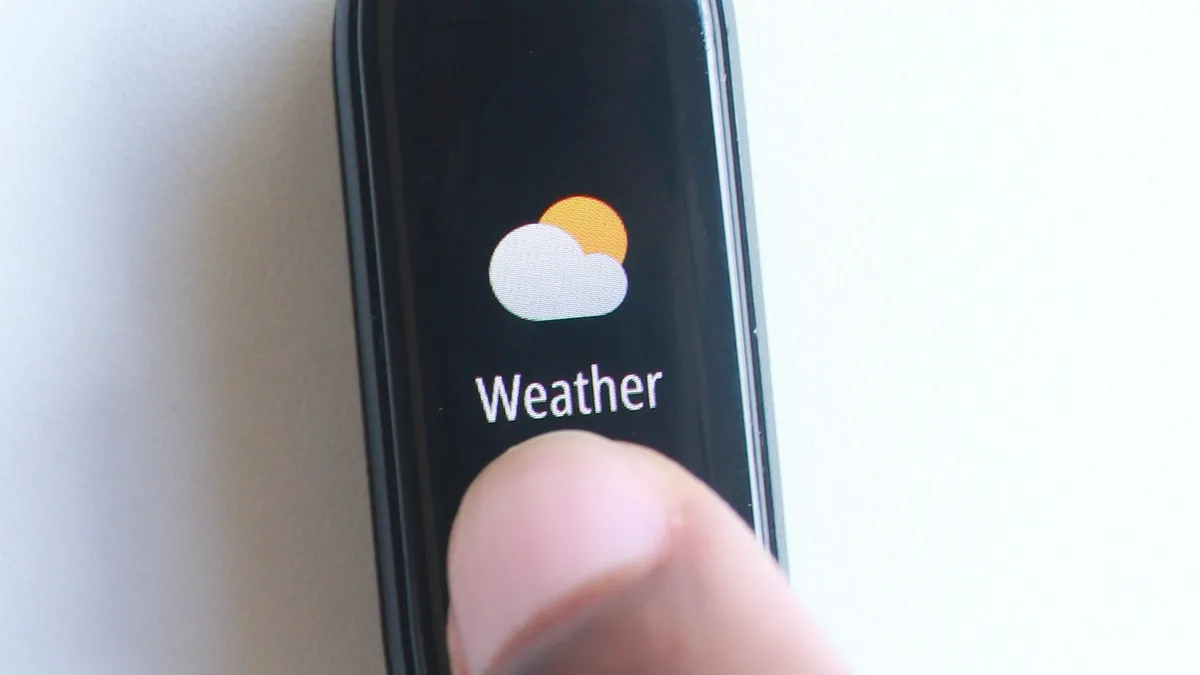
This post is a step-by-step guide on how to set up weather forecast on your Mi Band using the Zepp Life app.
The weather information that is displayed on your Mi Band comes from your phone (technically, from the Xiaomi Weather Server via Zepp Life).
For you to receive up-to-date weather forecast on your Mi Band, it’s important to always keep your band paired and synchronized with your phone.
This means that (1) you need your Mi Band to be paired with your phone and (2) if you are using dynamic location, it also needs to know where you are; so, you will need to have your location turned on and give Zepp Life permission to access your location.
07/23 UPDATE: If you own a Mi Band 7 and you have paired it to your phone with Zepp Life, and suddenly the weather is not working (error – “please connect to weather app for weather”), this is a result of a bug in Zepp Life version 6.7.6. The solution is to revert to version 6.7.1 of Zepp Life or pair with Mi Fitness. Will update when this bug is fixed.
07/23 UPDATE: This bug has been reported to have been fixed in the latest 6.7.7 version of Zepp Life. I was not able to replicate the issue with previous versions of Zepp Life, so can’t confirm it, and my guess is that this is an issue that only affects some users…
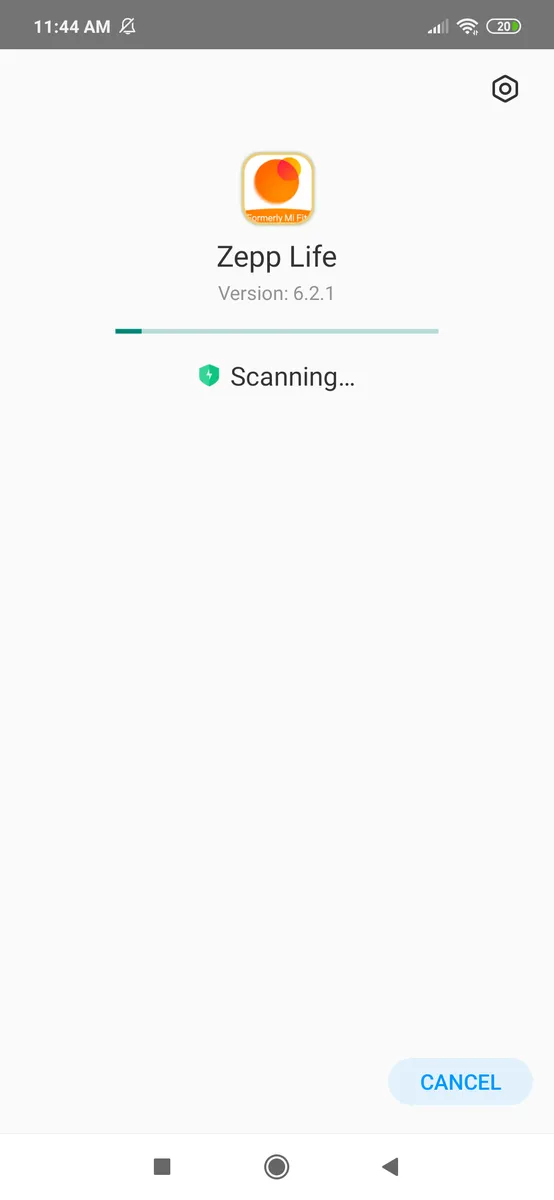
Step 1: Open the Zepp Life App
If you have not installed Zepp Life App, and paired it with your Mi Band, we have dedicated posts on how to pair your Mi Band with your phone using Zepp Life App and how register for a Zepp Life account.
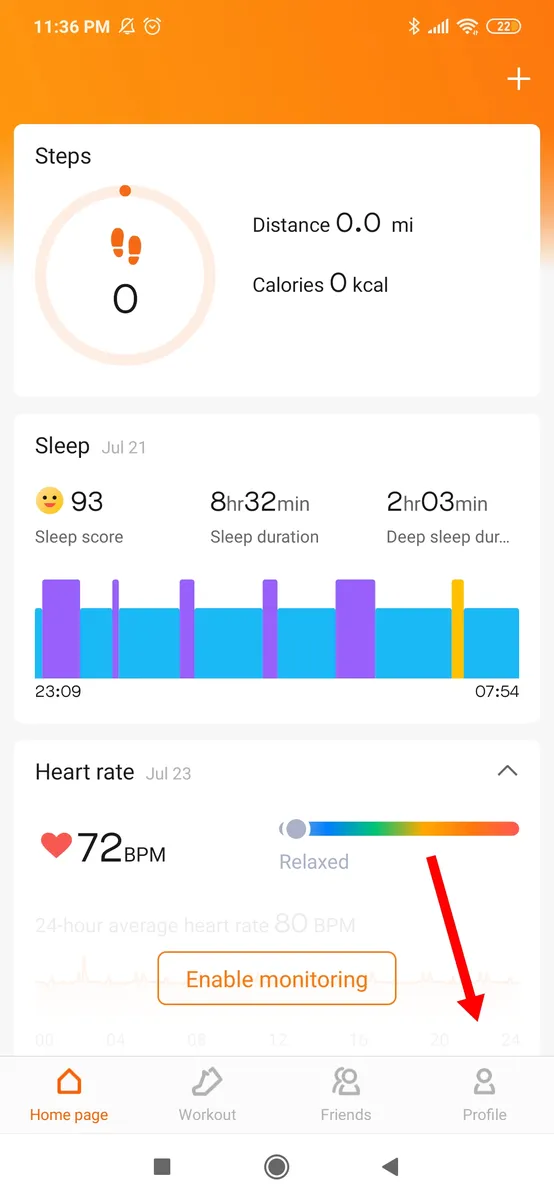
Step 2: Click on Profile
Step 3: Select Your Smart Band
On the Profile page, under My devices, click on the name of the Mi Band device that is paired with your phone.
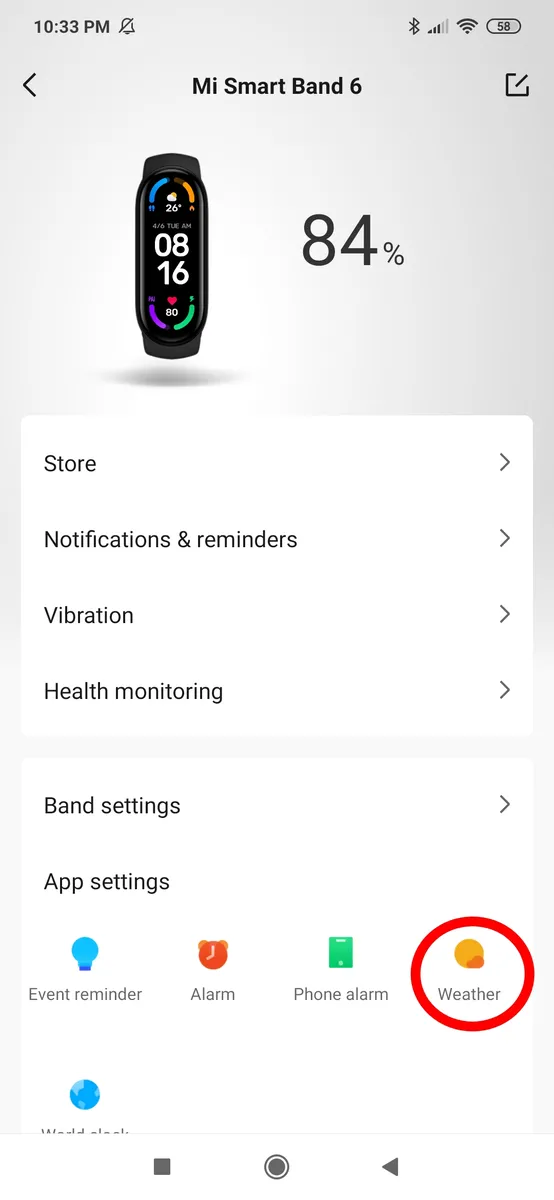
Step 4: Select Weather Settings
Under the app settings, click on the weather icon, right beside the phone alarm, to access the weather settings on Zepp Life.
Step 5: Set Your Location
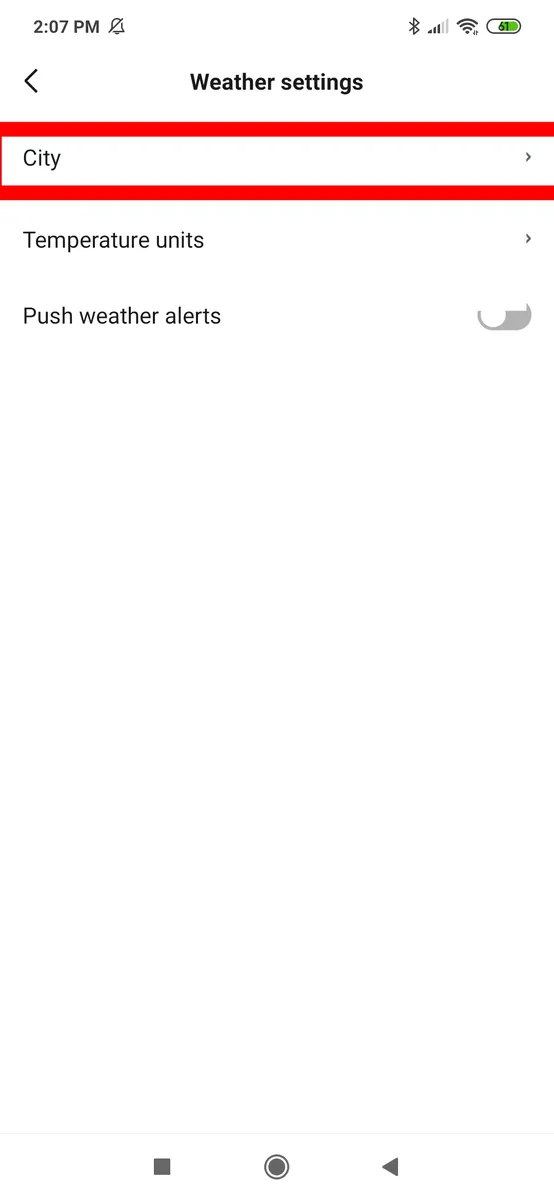
The first weather setting on Zepp life is the location setting. To set your location, click on City in the weather setting menu. Then type in your city/location.
If you wish to use dynamic location, I.e., get weather information automatically when you change your location, you can allow the app to get your location automatically.
If you choose to do so, you will need to have your GPS location turned on your phone, and allow Zepp Life to access your location data. If you don’t Zepp Life will not be able to fetch your location and weather forecast.
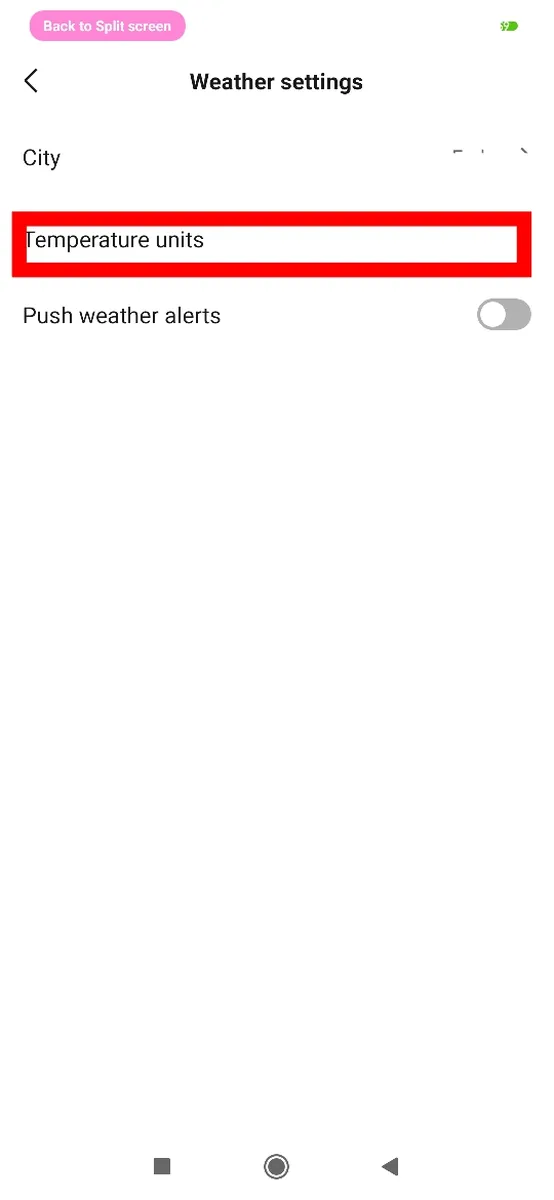
Step 6: Set Temperature Units
Step 7: Turn on Push Weather Alerts
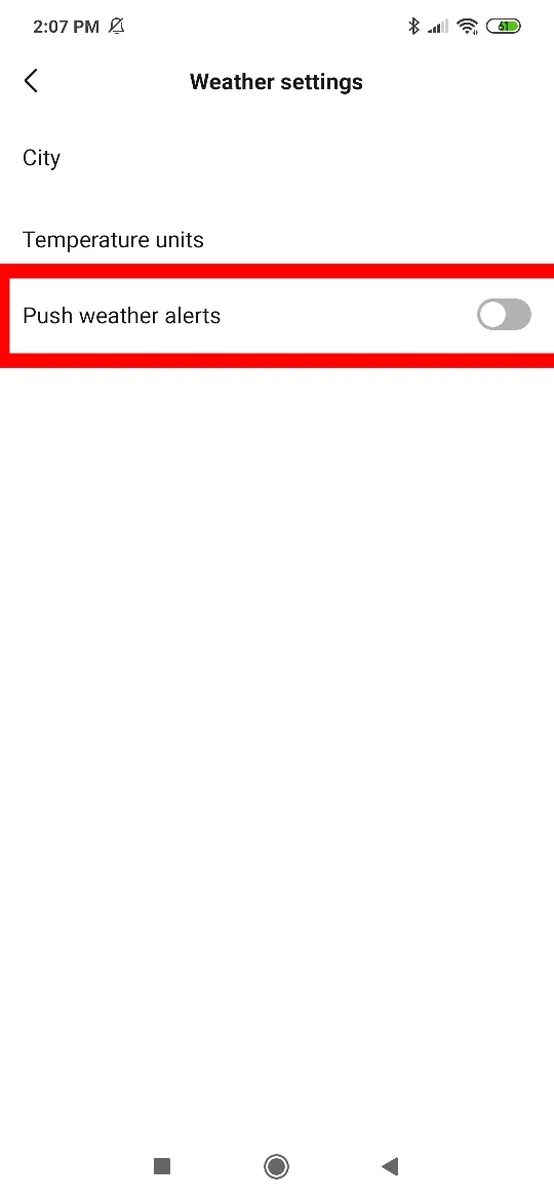
Finally, if you wish to receive updated weather forecast, turn on push weather alerts. This will enable Zepp Life to automatically send you weather forecast periodically – when it is paired and connected to your phone via Bluetooth.
If you don’t turn on this option, you will only get weather forecasts on your phone whenever you manually synchronized your Mi Band with Zepp Life.
That’s how you set up weather forecast on your Mi Band using the Zepp Life app. We also have a dedicated post on how you can set up weather forecast on your Mi Band using the Mi Fitness app.
I do like the Zepp Life weather settings more than Mi Fitness. Yes, the weather information is from the same server, but I find that the Zepp Life weather to be a bit more robust. Mi Fitness weather can be hit and miss – sometimes the weather forecast does not update, and I have to either close and open the app or manually sync the app and my Mi Band. With Zepp Life, I don’t get these issues.
Hope you enjoyed this guide. If you have any questions, suggestions, or comments, let us know in the comment section below.

Leave a Reply